Integrating the Zebra Printer With NetSuite
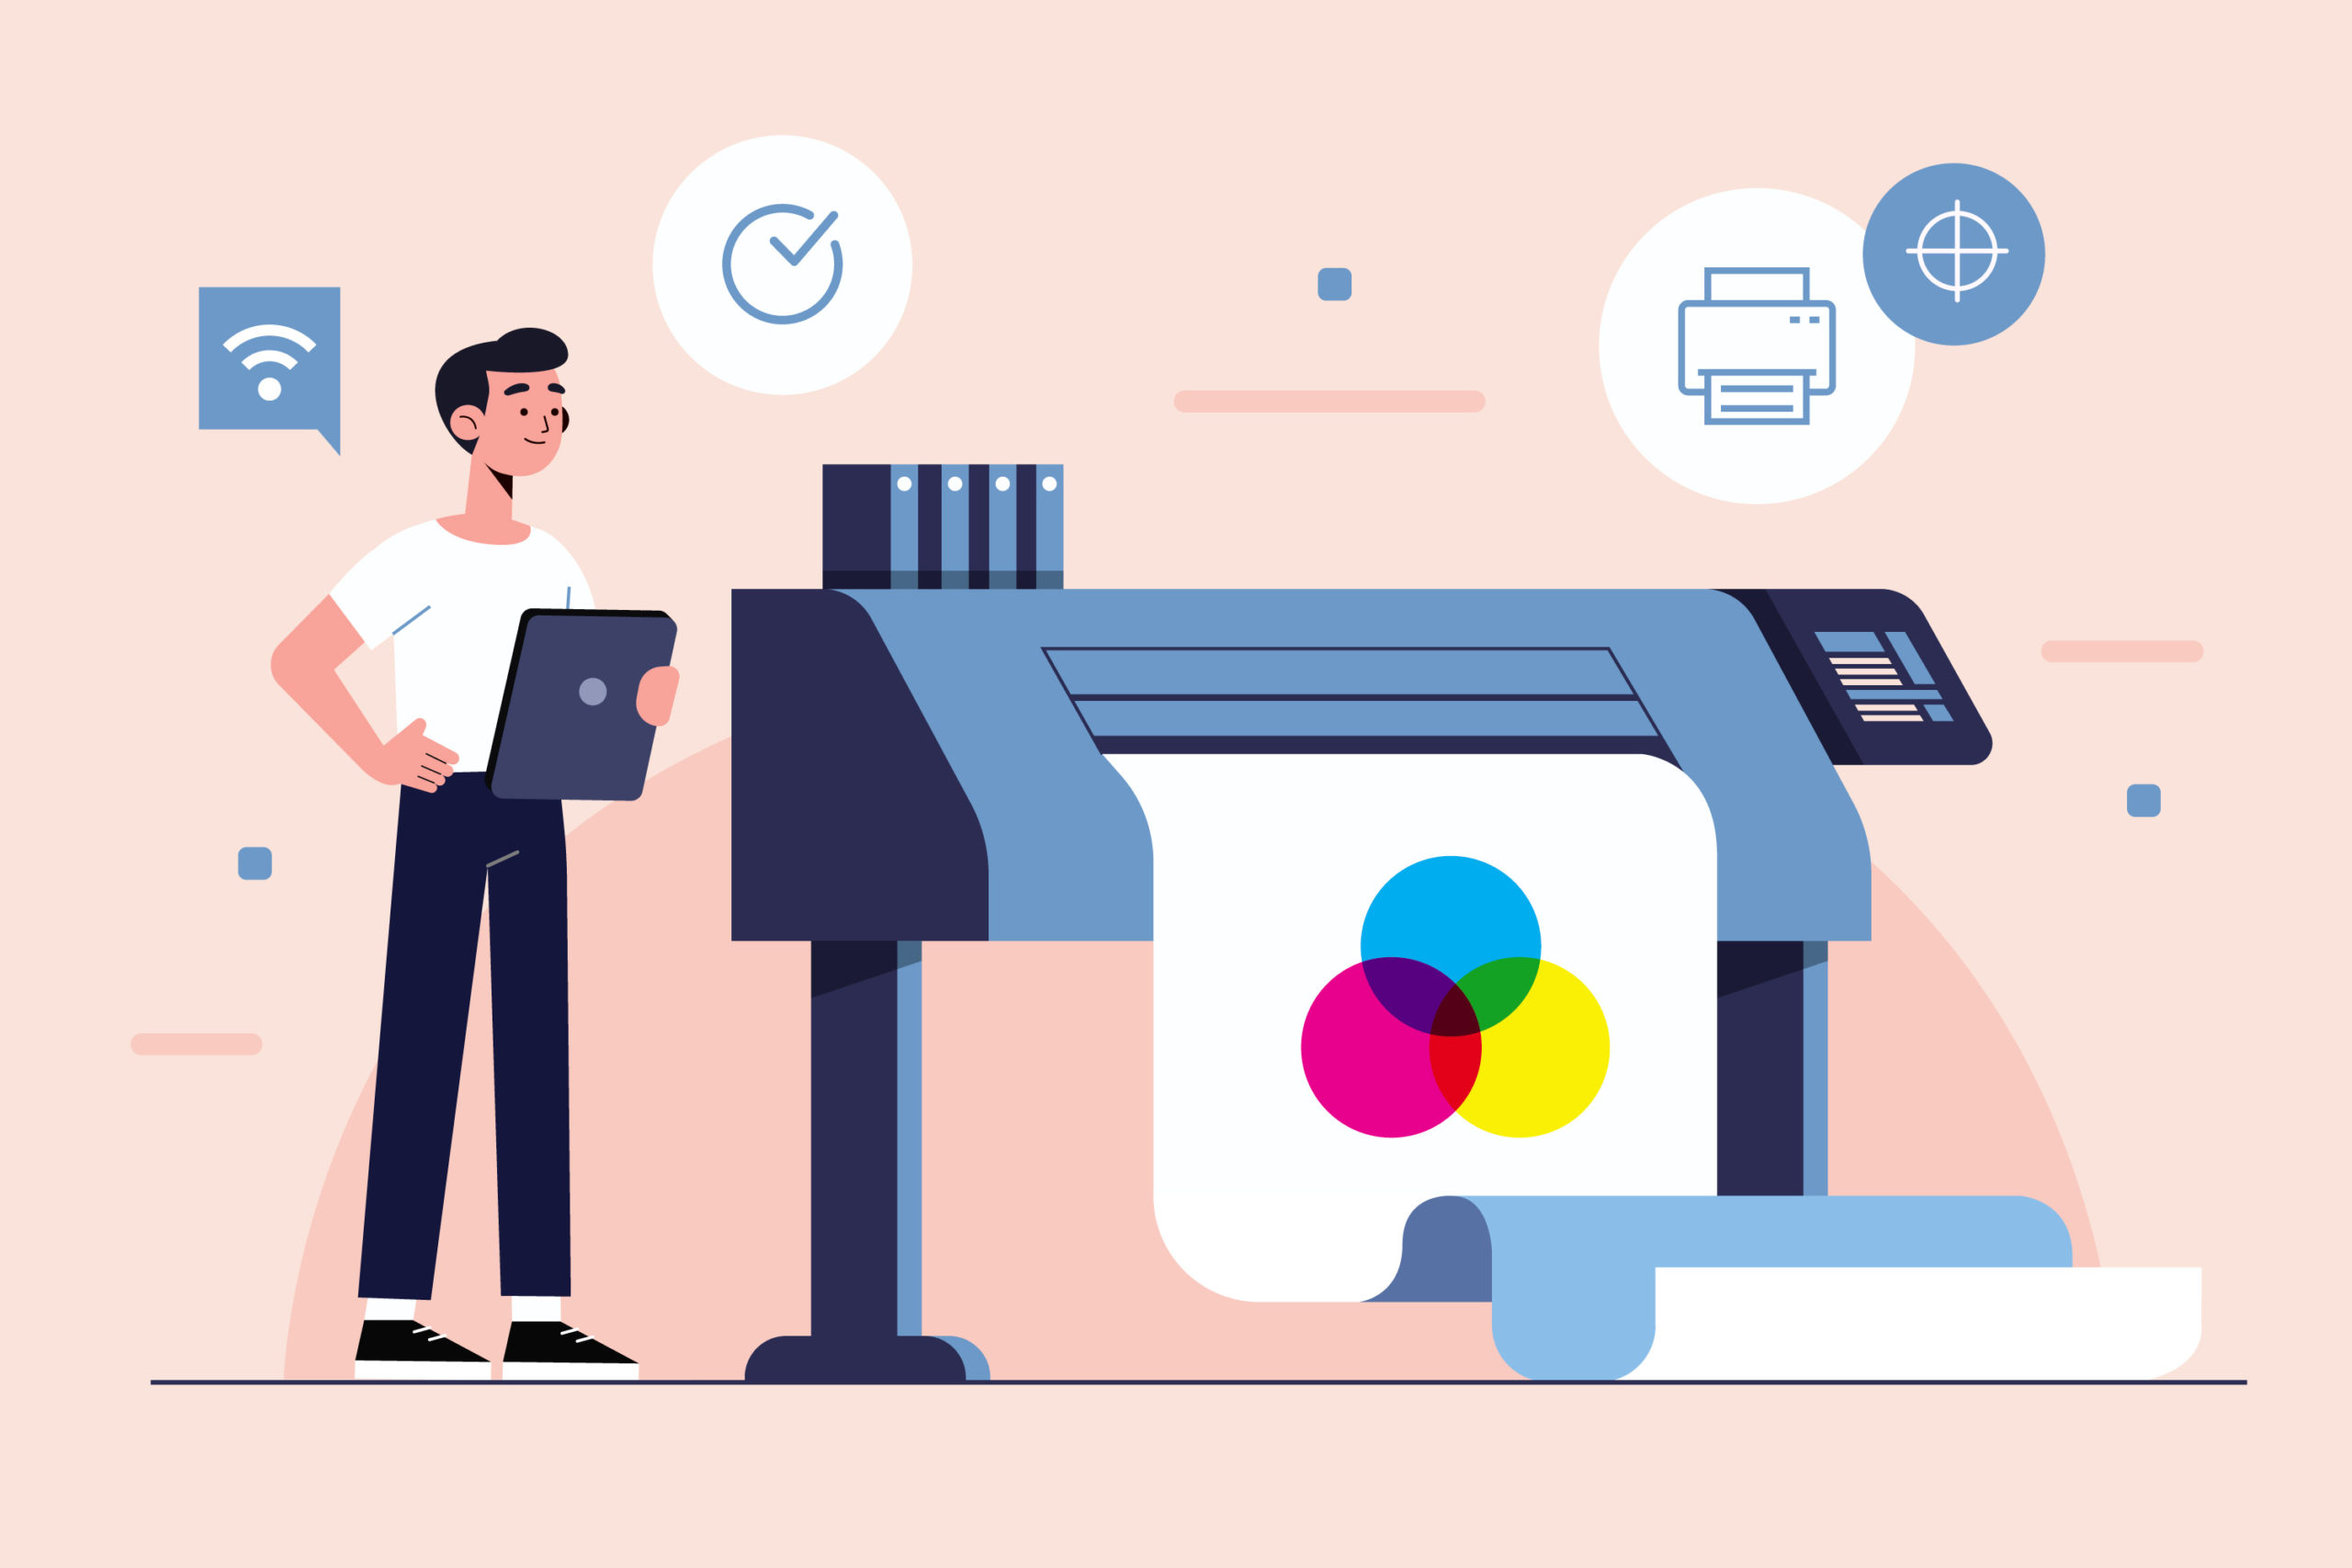
NetSuite has the ability to print barcodes, item labels, and shipping labels. This feature can be turned on in the Enable Features page. The labels and barcodes that NetSuite generates by default, however, are very simple and might not meet the requirements of businesses who would want to customize their labels. While NetSuite does have the ability to customize the labels by using Advanced PDF, many users might the process of pulling the required data from NetSuite onto the label tricky. Sometimes, the required data might not be accessible too.
79Consulting implemented a custom printing solution for a customer recently, which will be covered in this blog.
The aforementioned customer uses Zebra thermal printers for their printing needs. Zebra is one of the industry leaders in label and barcode printing and has its own printer languages such as ZPL and EPL. These printer languages help in the design and customization of labels.
79Consulting’s solution for integrating the Zebra printer with NetSuite involves the following steps:
- Installing the Zebra printer
- Designing the label in the printer language (in this case, ZPL)
- Generating the labels in NetSuite
- Setting up the default program for ZPL/EPL files
1. Installing the Zebra printer:
Zebra printers typically come installed and ready to use out of the package. This installation is very easy and self explanatory. The printer, when switched on, will appear under Devices and Printers as soon the printer and computer system are connected. In some cases, the printer drivers might need to be installed manually. This can be done either by using the disc provided by Zebra along with the printer, or by navigating to https://www.zebra.com/us/en.html and looking for your printer model under the Support and Downloads section.
2. Designing the label in ZPL:
Once the printer is installed and ready to go, the next step is to design the label. A single label can be customized to include a company logo (image), barcode, dates and text information. The label can also be designed in custom sizes like 4 X 2″ or a 4 X 6″. 79Consulting’s solution saves this design as a template for all future printing in NetSuite. This is a one time activity and once the template design is approved, users need not worry about the alignment of the label each time it is printed in NetSuite. Here is how a sample custom label designed for a 4 X 2 label can look like
3. Generating labels in NetSuite:
Once the label template is created, it is loaded into and populated with data from NetSuite. 79Consulting created a custom Print button in NetSuite and built a custom script that is triggered upon the click of this Print button. This action pulls the required data from NetSuite and creates a label file (.zpl file) which gets downloaded to the system locally, and can be found under Downloads folder. Additionally, our team can provide the customization that allows users to enter a label count, which generates labels to that number specification. (For example, if a user wants to print 5 copies of a certain label, they can do so by entering the label count on the screen before printing it.)
4. Setting up the default program for ZPL/EPL files:
The final step is to set up a default program on the system for the ZPL files that are generated by NetSuite. Once the Zebra printer is set as the default program for these ZPL files, it will be a lot easier for the users to print the same. As soon as the file ZPL file is downloaded, double clicking the same will directly print the label on the printer.
Use Case:
This use case covers a custom solution designed and implemented by 79Consulting that prints labels on a Zebra printer from the Item Receipt record using Suitescript and ZPL. The team first created the label template in the desired format using ZPL and saved this template in NetSuite. Next, a custom button was created on the Item Receipt which would fetch details from line level of the IR, as well as some information from the item record. The information retrieved is then populated in the ZPL template, and a label file ready to print on Zebra printer is created.
A similar custom solution can be implemented for any transaction or entity to help users retrieve the required information from both line level and transaction level to create the labels. For additional Zebra printing customizations for your business, reach out to the 79Consulting team today.


