

Integrating Spreadsheets with Boomi
Looking to streamline your workflow by seamlessly integrating spreadsheets with Boomi? The process involves two key steps: OAuth client ID generation for Google Sheets and the integration setup with Boomi. Let’s dive into the details of each step to ensure a smooth and efficient integration between these platforms. From configuring OAuth consent for Google Sheets to executing actions on spreadsheets through Boomi, we’ll guide you through the necessary steps, troubleshooting tips, and best practices for a successful integration. Let’s get started on harnessing the power of combined spreadsheet functionality and Boomi’s capabilities to optimize your operations.
1. OAuth client ID Generation for SpreadSheet :
Configure the OAuth consent page and add yourself as a test user if you are completing this quickstart using a new Google Cloud project. You can move on to the next section if you’ve already finished this step for your Cloud project.
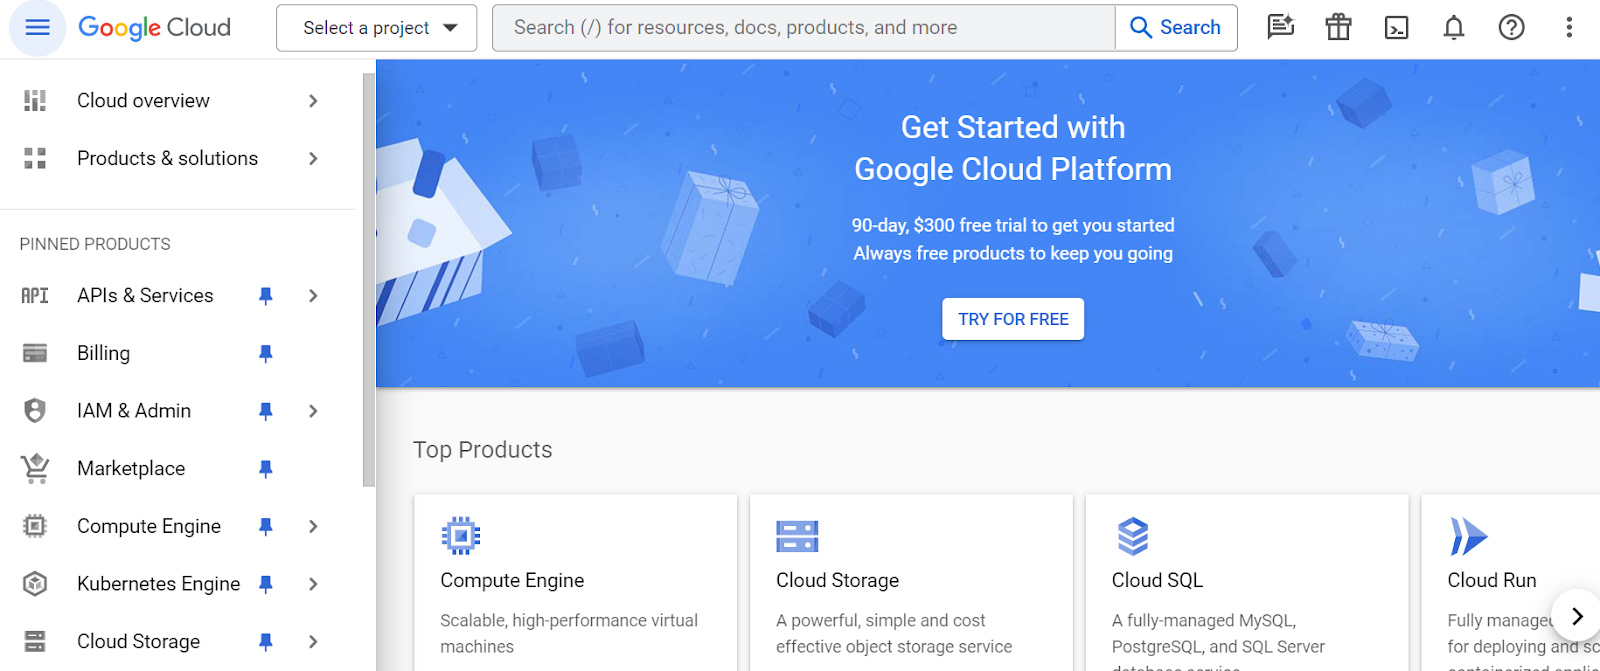
- Navigate to the Google Cloud Console
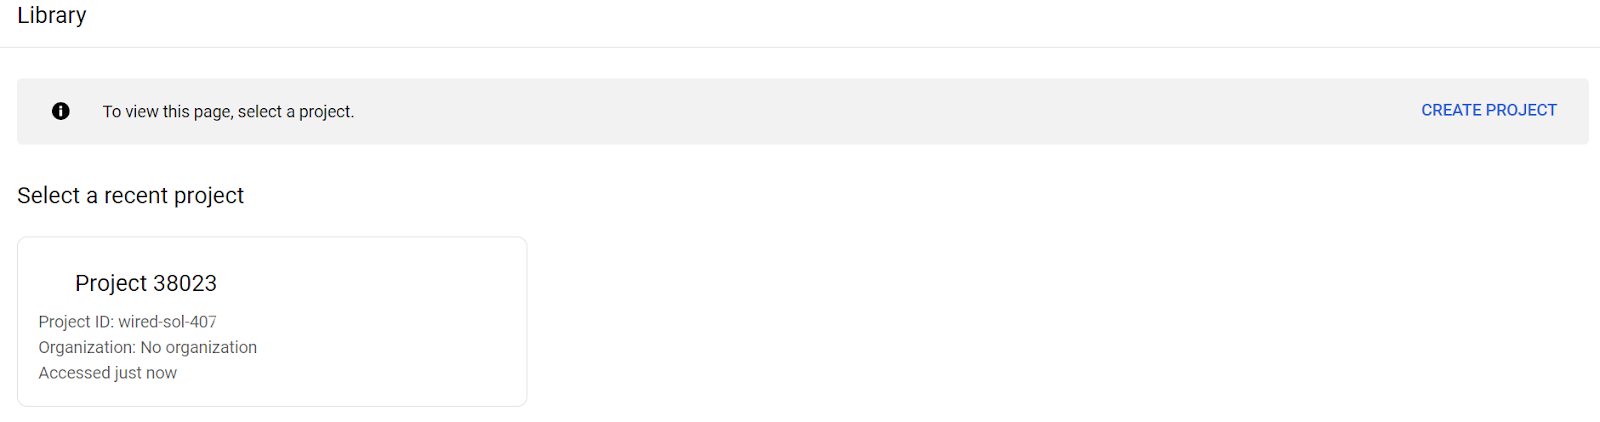
- Create a new project or choose an existing one.
- Go to menu>APIs & Services>Library.
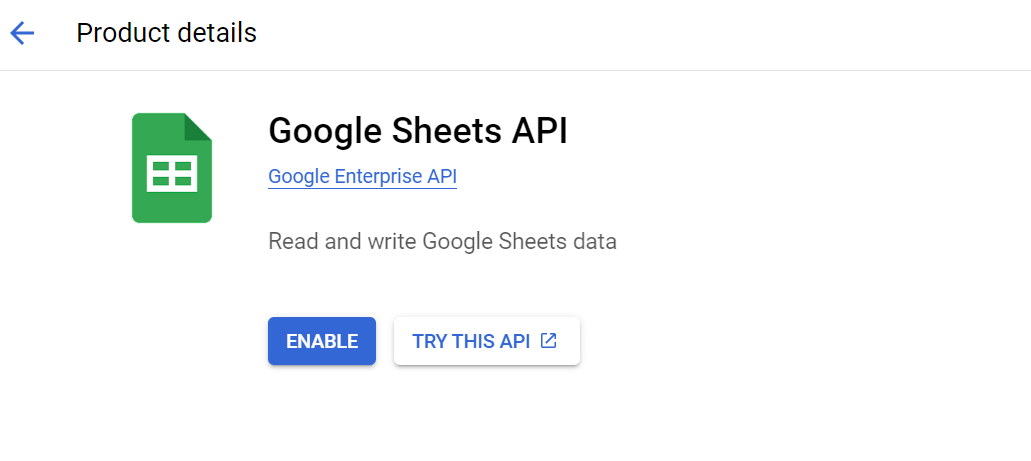
- Search for Google Sheets API and enable it with the created project.
- Click on Enable to activate the API.
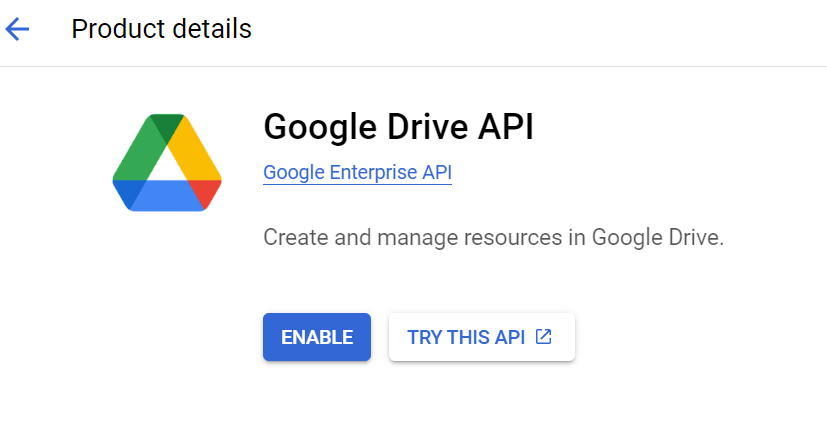
- Repeat the same steps for the Google Drive API
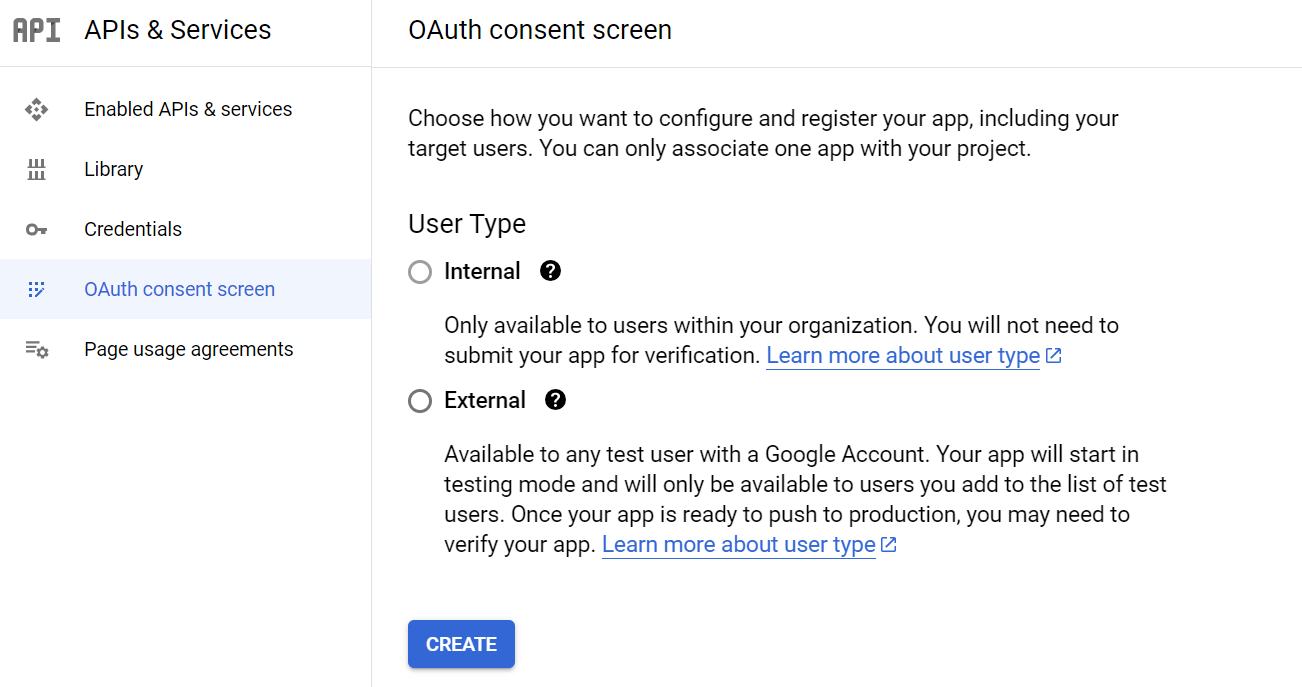
- Navigate to the OAuth Consent screen under Navigation Menu>APIs & Services.
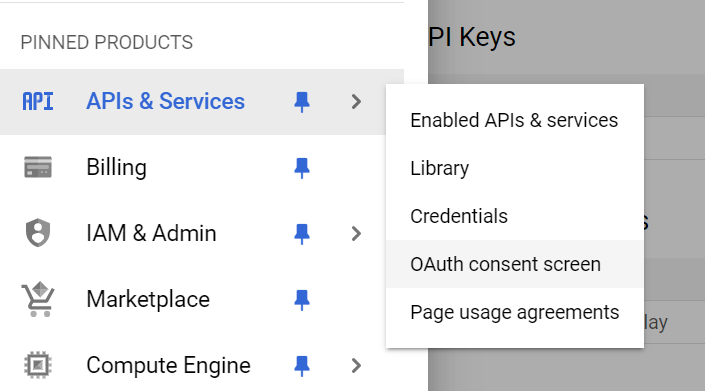
- Select External and then click on Create.
- Enter the app name, user support email, and developer contact information.
- Enter the email address in the ‘User Support Email’ and ‘Developer Contact Information’ fields. Afterward, Click save & continue.
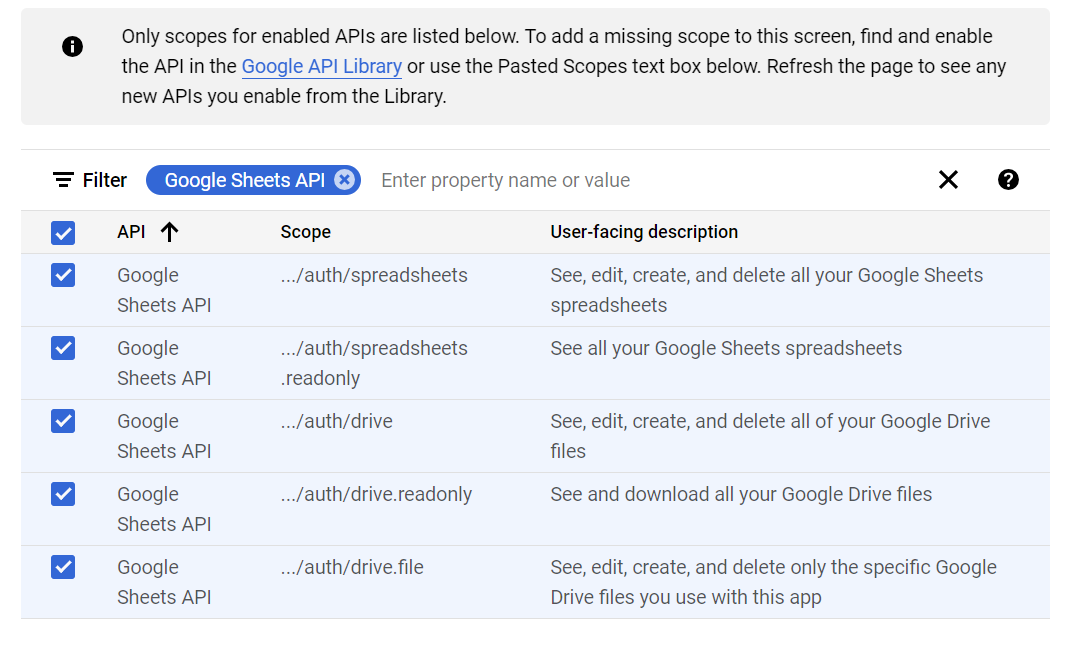
- Click on Add or Remove Scopes.
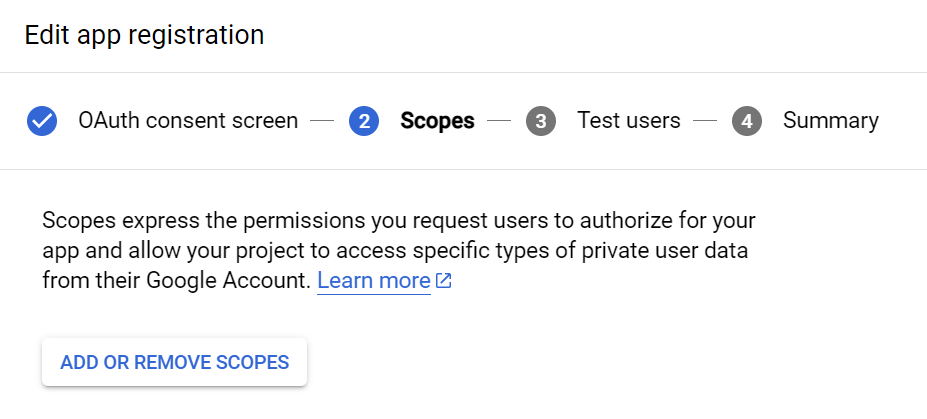
- Add scopes that are related to the Sheets, then click Update, followed by then Save and Continue.
- If you selected External for user type, follow these steps to add test users:
- Under Test users, click Add users.
- Enter your email address and any other authorized test users.
- Click Save and Continue.
- Review your Summary of the app, then click Back to Dashboard.
- Navigate to Navigation Menu>Credentials to create the client ID & Secret.
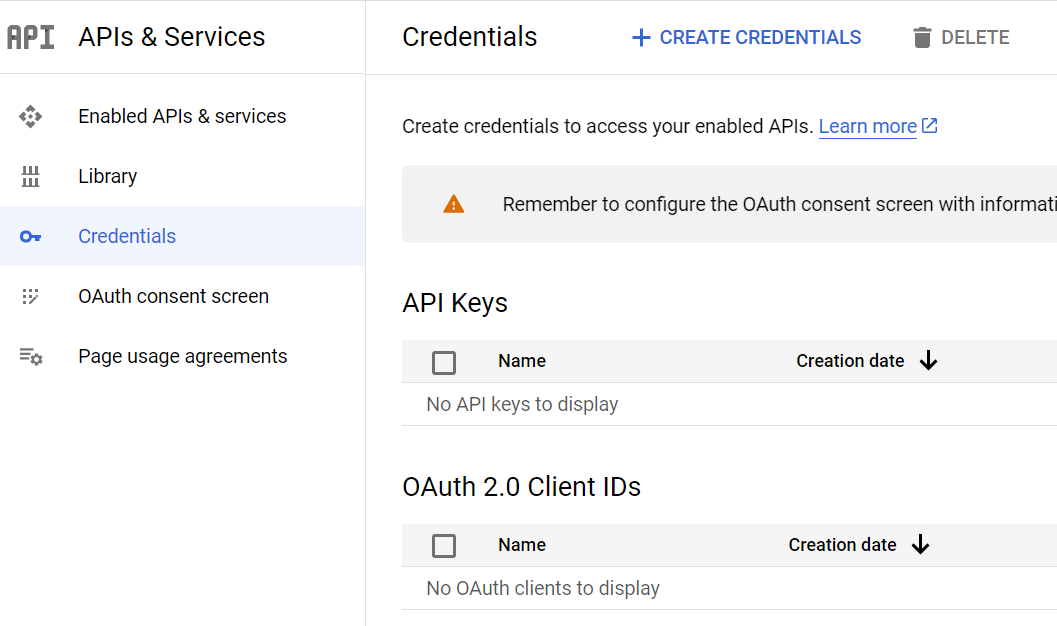
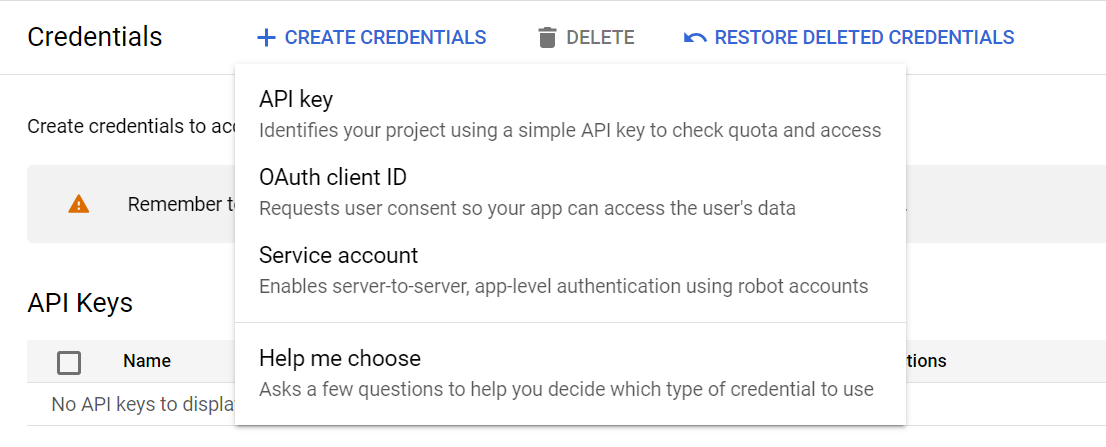
- Click on APIs & Create Credentials>OAuth client ID
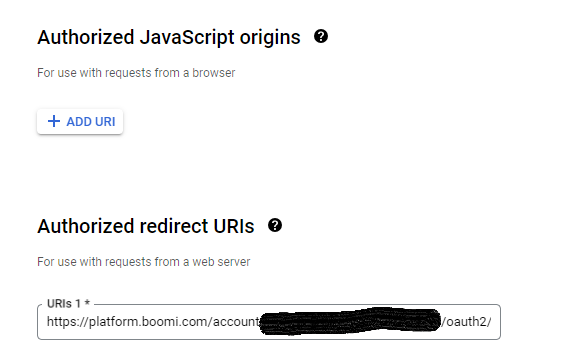
- Select Web Application and enter the Name of your OAuth 2.0 client. Add Authorized redirect URIs as https://platform.boomi.com/account/<your_account_ID>/oauth2/callback where <your__account_ID> is your Integration account ID. Click Create.
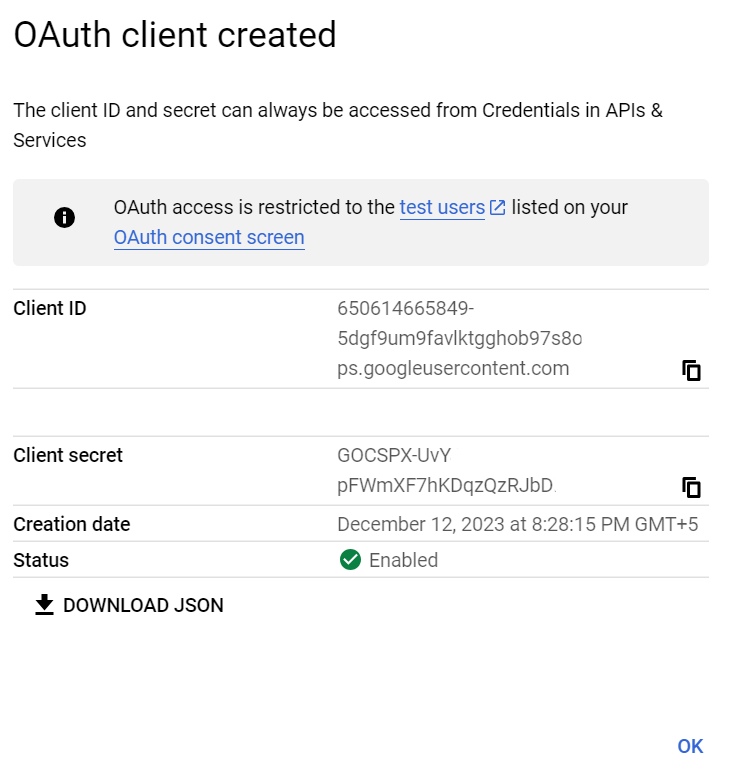
- Here are your Client ID & Client Secret.
2. Integrating with Boomi:
1. Google Sheet Connection:
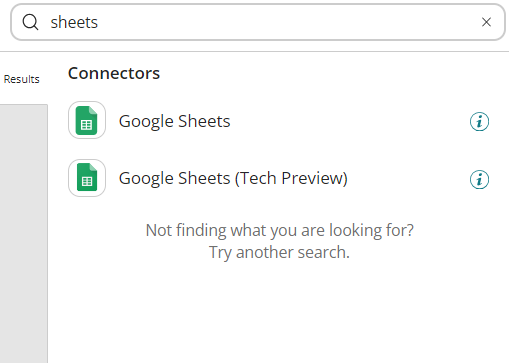
- Select “Google Sheets connector” from the available shapes.
- Click on + icon next to the connection field to create a connection.
- Paste or insert OAuth 2.0 Client ID and Client Secret at their respective fields.
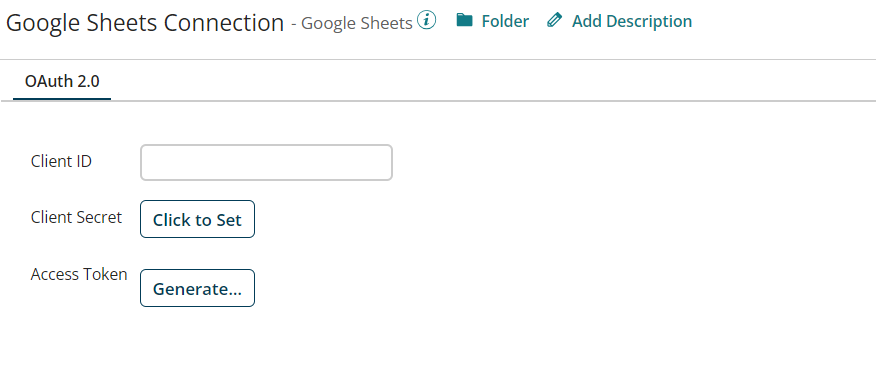
- After entering the Client ID and Secret, click the Generate button next to the Access Token field. You will then be redirected to the Gmail login page. Once logged in, a page will appear, asking for your permission.

- Click Allow to successfully generate the access token. Afterward, save your connection and test it to ensure your connection is working correctly.
Note:
If there is an error like this:
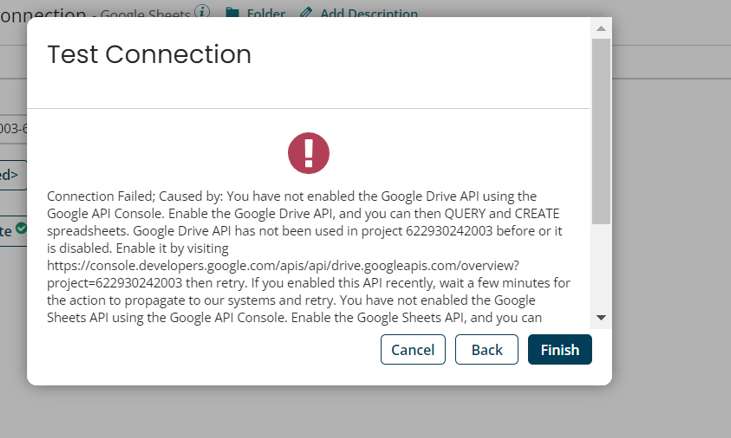
If you encounter this error, it may be due to the Google Sheets API and Google Drive API being disabled. To resolve this enable both APIs in the Google Console under Enable API Services.
2. Implementing Query and Create Actions on Sheets through Boomi:
- Query: Boomi process to query records from Google Sheet Operation.
- Select the created Sheet connection in the connection field. Choose Query under the Actions field, and click the + icon in the operation field to create a query operation.
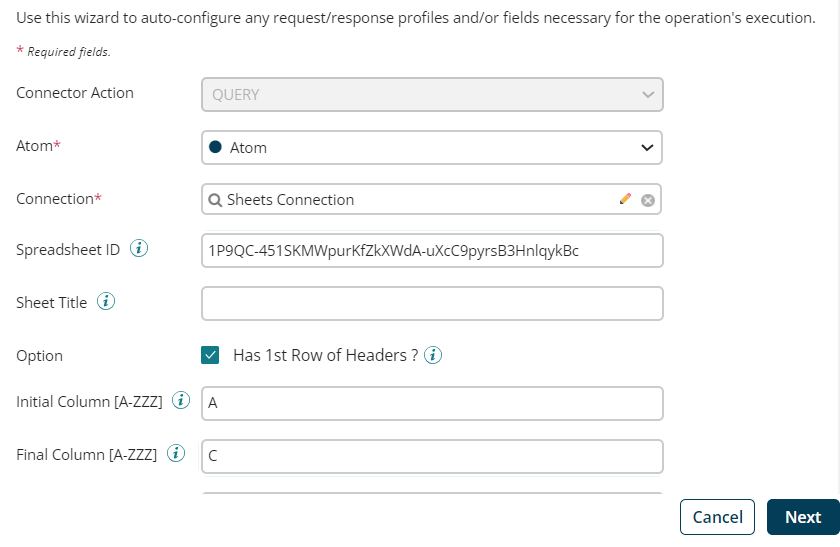
- Click Import Operation, and Select the atom and connection. Enter the spreadsheetId (the value in the spreadsheet URL between /d/ and /edit).
- Check “Has 1st Row of Headers ?” so that the first Row will be considered as headers. Enter the Initial & Final columns then click Next.
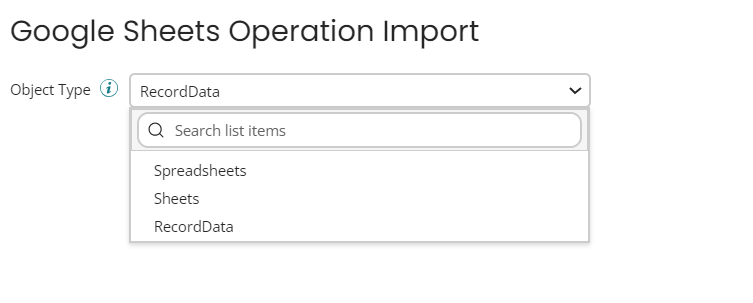
- Select Record Data as the object type in the import operation. Click Next, and then click Finish after the response profile is generated. Don’t forget to save the operation.
- Add a Stop shape after the Sheets connector. Save the process and click Test.
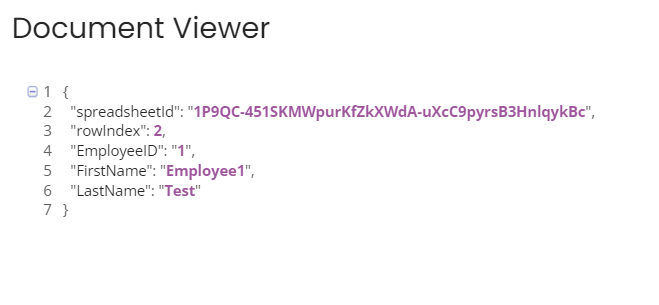
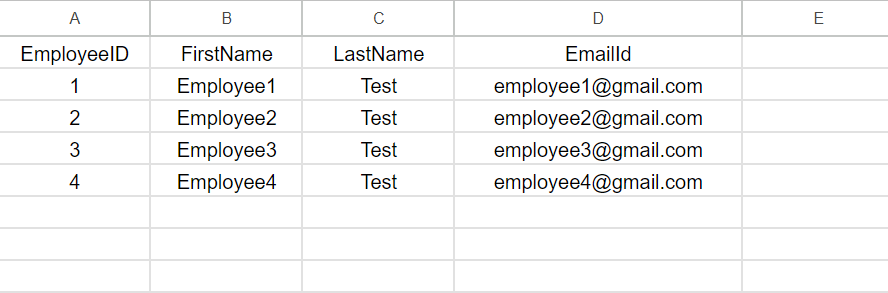
- Every single row in SpreadSheet is treated as a single document in Boomi.
- Boomi Response
- Create: Boomi process to enter record data in the sheet

- Select Create under the Actions field, and then click the + icon to create a Create operation.
- Repeat the same steps as the query operation and then save the operation.
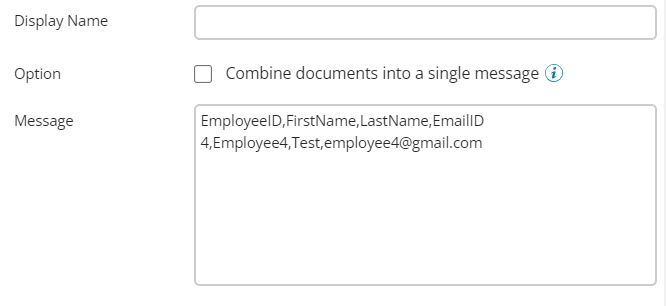
- Select the ‘Message’ shape and provide the fields that are present in the spreadsheet as a flat file. Click OK.
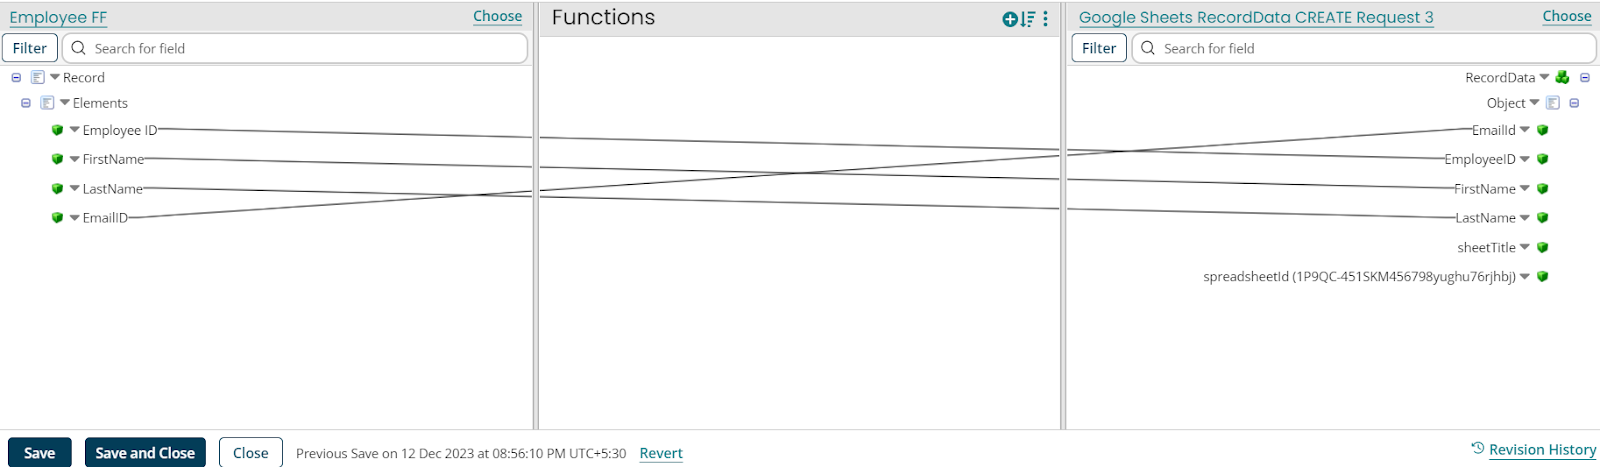
- Select the ‘Map’ shape and create a map component. Generate a flat file using the data provided in the ‘Message’ shape, mapping that profile to the spreadsheet request profile. Click Save and Close.
- Add a stop shape at the end of the process and click save. Test the process with the Atom.
- SpreadSheet :
Need help integrating spreadsheets with Boomi? Set up a consultation with us today!