
Integrating Business Systems With Hubspot Using Boomi
Leverage Boomi to establish seamless connections between HubSpot and other critical business systems and applications, constructing a robust data fabric that offers a comprehensive view of your operations. With this integration, you can centralize contact information, monitor social media trends, tailor your communications, and generate insightful analytics—all while safeguarding the integrity of your data.
In this comprehensive guide, we will explore the process of integrating HubSpot with Boomi, covering essential topics such as Token Generation in HubSpot and the integration process with Boomi.
Let’s dive into the key components of this integration:
1. Token Generation in HubSpot:
Before you can initiate the integration between HubSpot and Boomi, you need to ensure you have the necessary access token. Here’s a step-by-step guide to generating your access token in HubSpot:
- Sign in to your HubSpot account.
- Click on the required account.
- Navigate to Settings > Account setup > Integrations > Private apps.
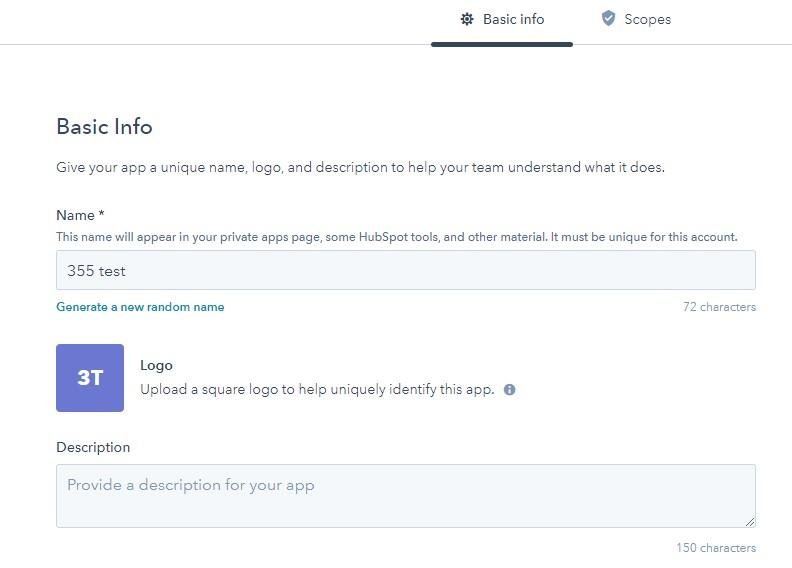
- You can either copy the Access token if you’ve already created a private app or create a new one. The Basic info page will appear, and for more information on private apps, refer to the Private apps documentation.

- Enter the Name and Description (optional).
- Navigate to the Scopes section and select the required scopes.
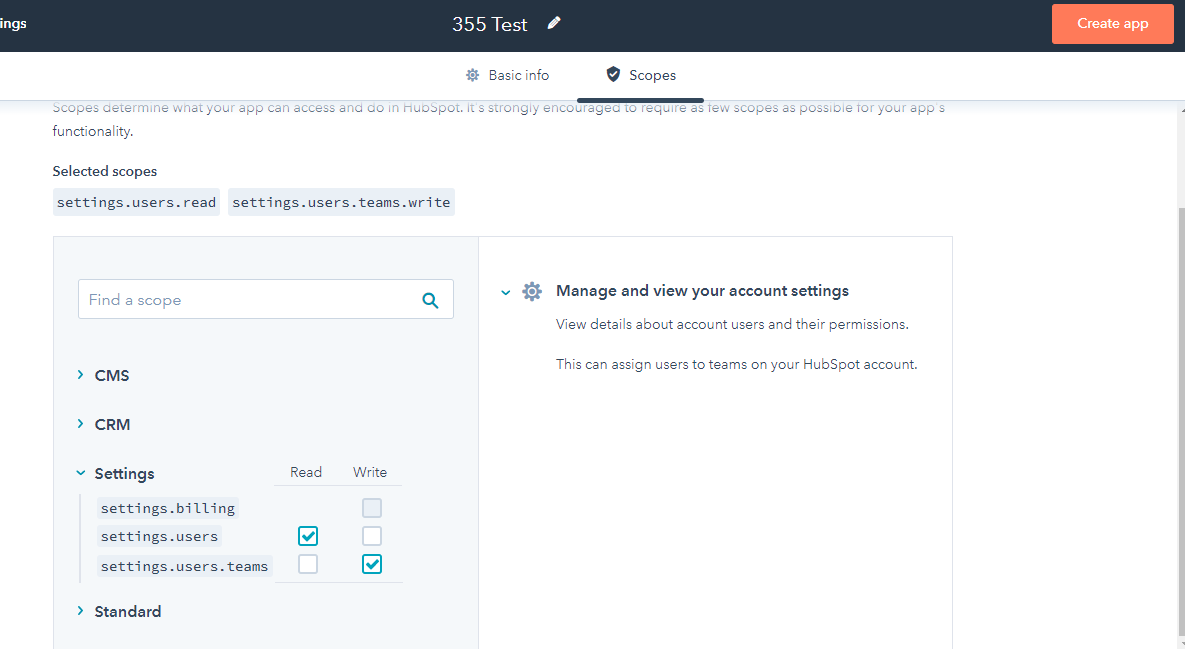
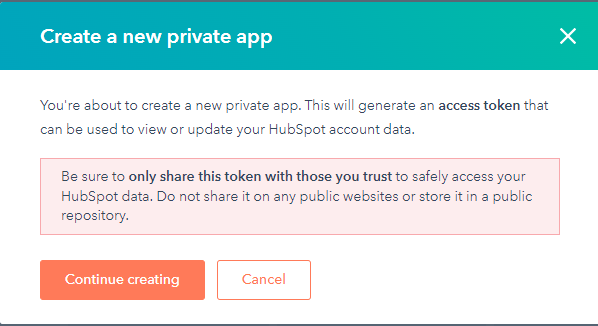
- Click “Create app.” You’ll see the “Create a new private app” message.
- Read the information and click “Continue creating.”
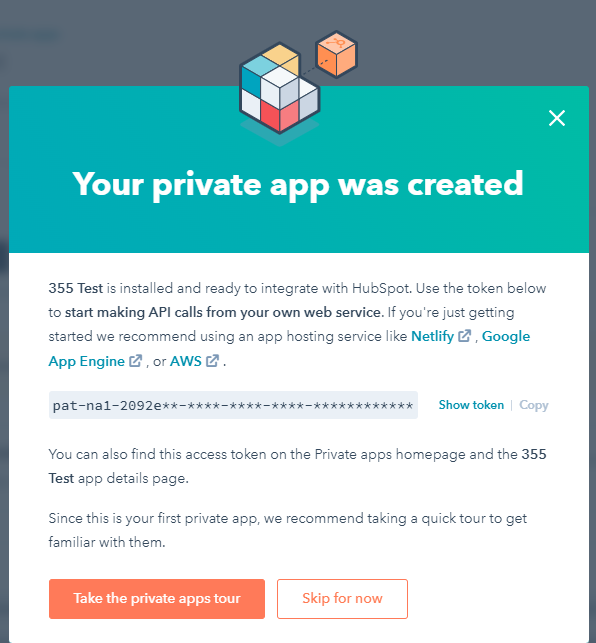
- Click “Show token” and copy your Access token.
2. Integrating With Boomi:
Now that you have your HubSpot access token, you can proceed with the integration process. Here’s how to do it:
2.1 Boomi HubSpot Connection:
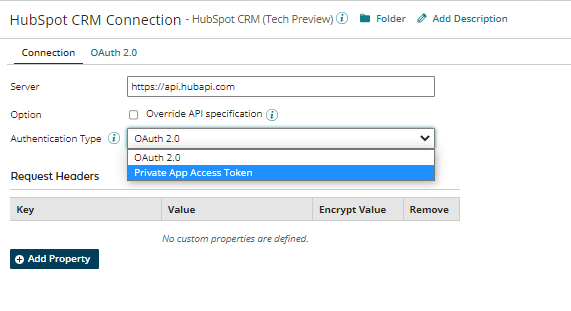
- Select “HubSpot CRM (Tech Preview) connector” from the component explorer.

- Choose any Action and click the “+” symbol to create a connection.
- Select “Private App Access token” under Authentication type.
- The Private App Access Token field will be populated with a “click to set” button. Click on the button and paste the created Private app token, then select “Apply.”

- Click on “Add Property” under Request Headers. Set “Authorization” as the key and provide your private token as “Bearer token” for the value. Then, click “Encrypt.”
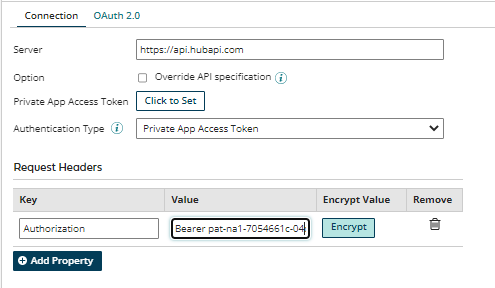
- Once the key value is encrypted, click “Save” to establish the connection.
2.2 HubSpot CRM Connector GET and POST Action:
a. GET Operation:
This operation allows you to fetch records from HubSpot using the GET method. Here are the steps to configure it:
- Select “Get” under the Action field and click the “+” to create the operation.

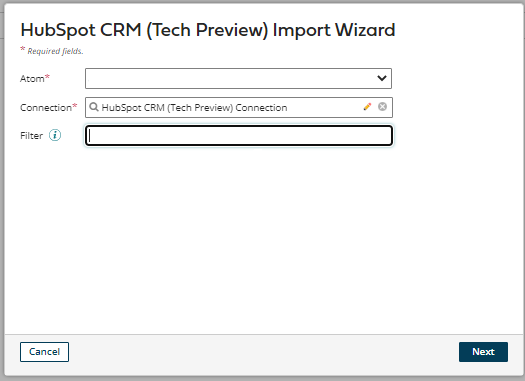
- Click on “Import” for the object.
- Select the Atom and HubSpot Connection, then click next.
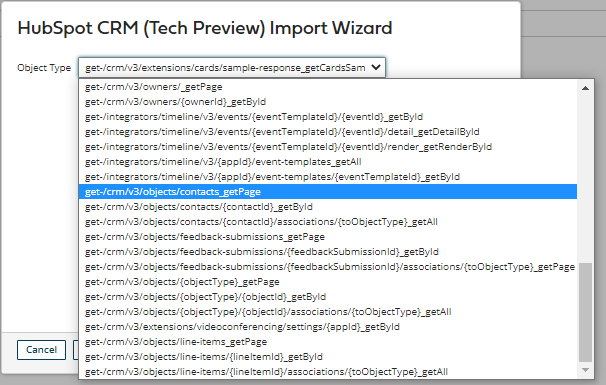
- Choose the Object type needed from the dropdown and click Next.
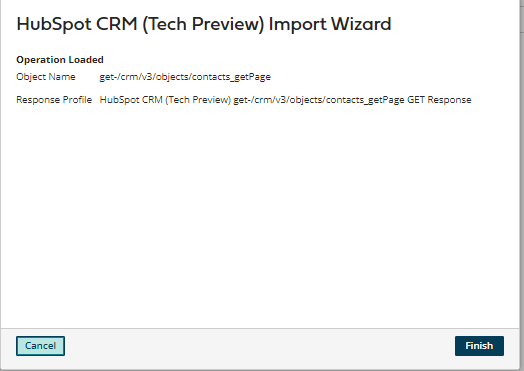
- A Response Profile will be generated. Click “Finish.”
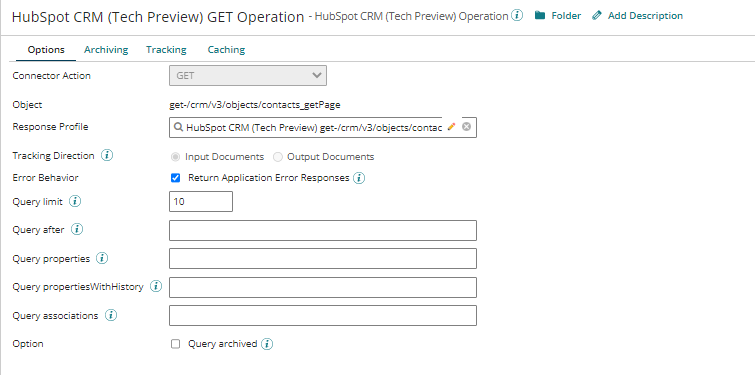
- Save the GET Operation.
- Add Return documents after the connector and save the process, then click “Test.”

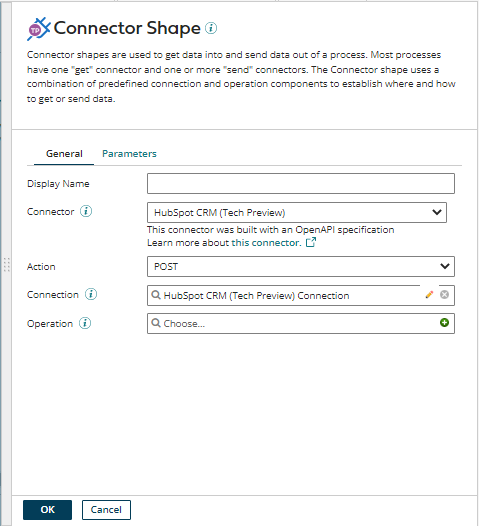
b. POST Operation:
This operation facilitates the creation of a contact in HubSpot using the POST method. Follow these steps:
- Select “Post” under the Action field and click the “+” to create an operation.

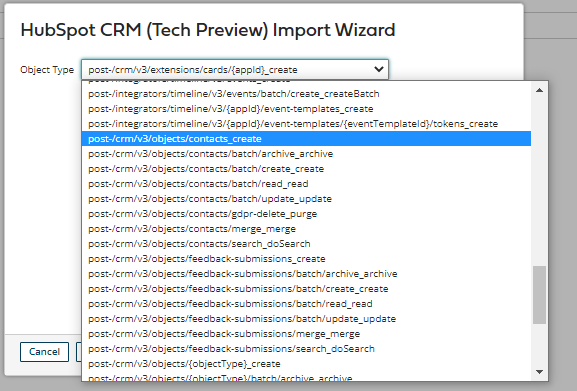
- Click on “Import” to import the required object.
- Select the Atom and HubSpot Connection, and click next.

- Choose the Object type needed from the dropdown and click Next.
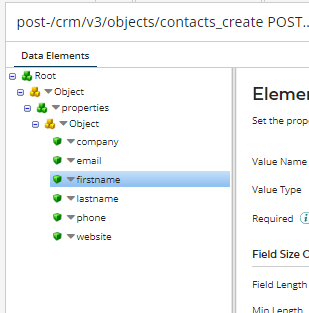
- A Post Request and Response Profile will be generated. Click “Finish.”
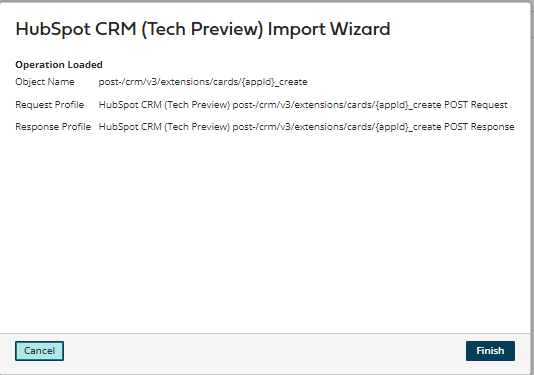
- Save the Operation.
- Select Message Shape and provide mandatory details for contact creation.
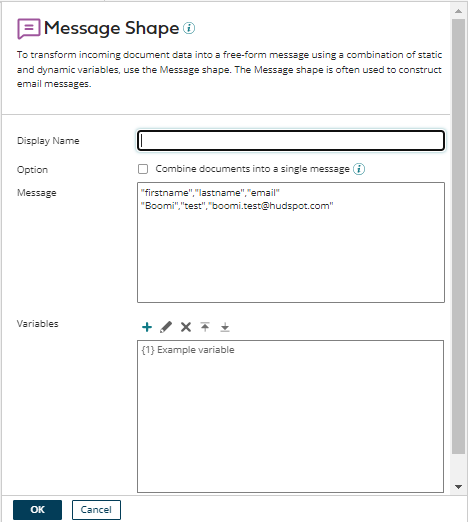
- Use Map shape to create a CSV profile for the source, using the details given in the message shape.
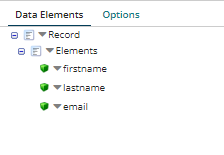

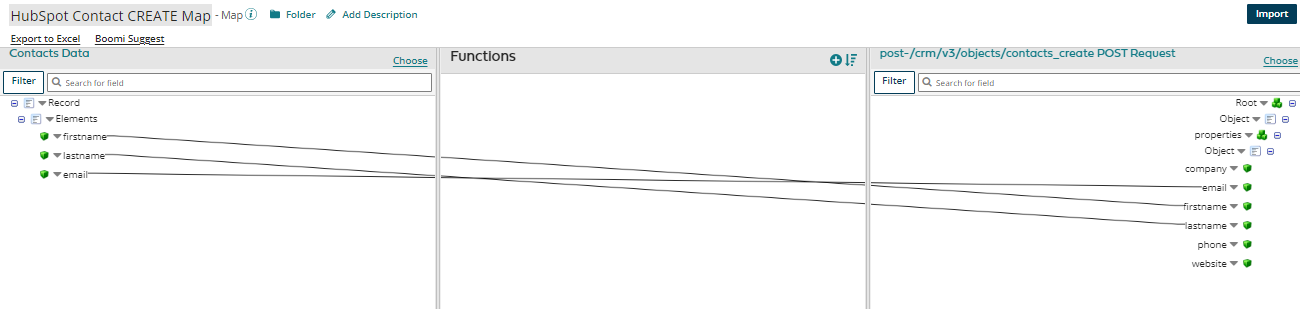
- Select Request profile generated from the post operation. Add the required elements such as first name, last name, email etc under the properties array.
- Map the fields and click Save.
- Add return documents after HubSpot CRM Connector and save the process to TEST.
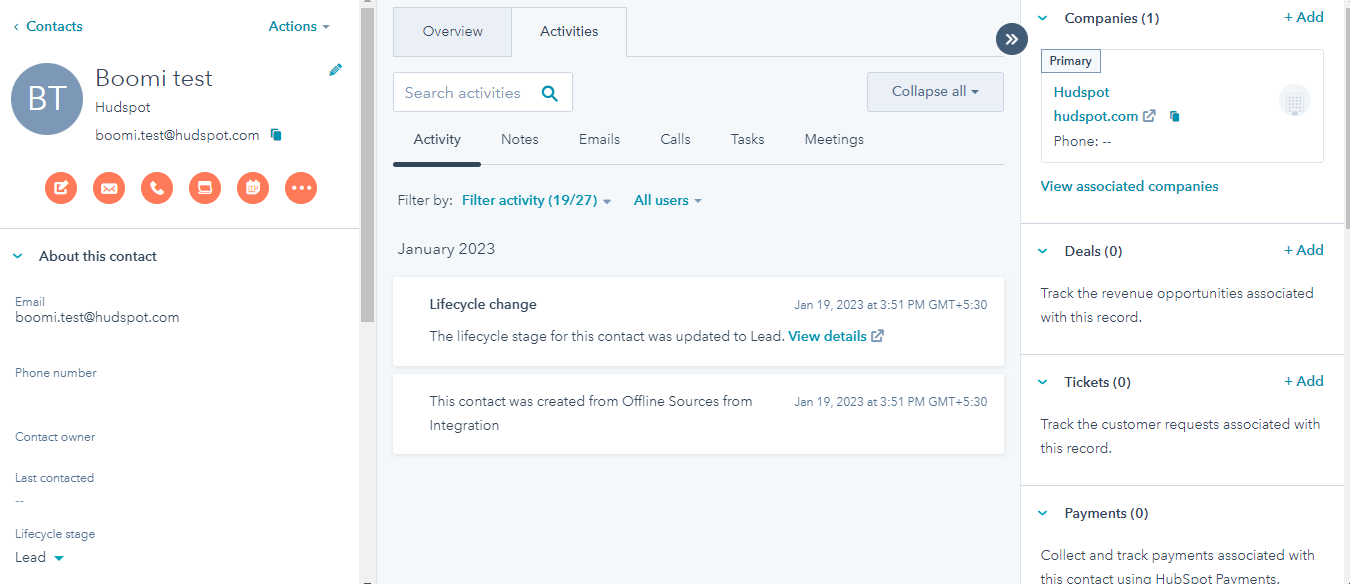
Boomi response for contact creation:

Contact created in HubSpot