You are browsing
79Consulting

This blog will guide you through the process of seamlessly integrating EDI X12 files from an FTP server into NetSuite. This integration will streamline your data flow and improve efficiency in managing electronic data interchange. By following these steps, you'll learn how to set up an FTP export, parse EDI files, and create a Sales Order (SO) in NetSuite, all while customizing the process to fit your specific needs.
1. Select FTP as your source

2. Then, click on "Create from Scratch" to create a new FTP export.

3.Name your export as you like.4.Write a description (optional, based on your flow).5.Select an active FTP connection.6.Choose "Yes" for the "Parse Files Being Transferred" option.7.Next, select "EDI X12" as your file type in the file type option.
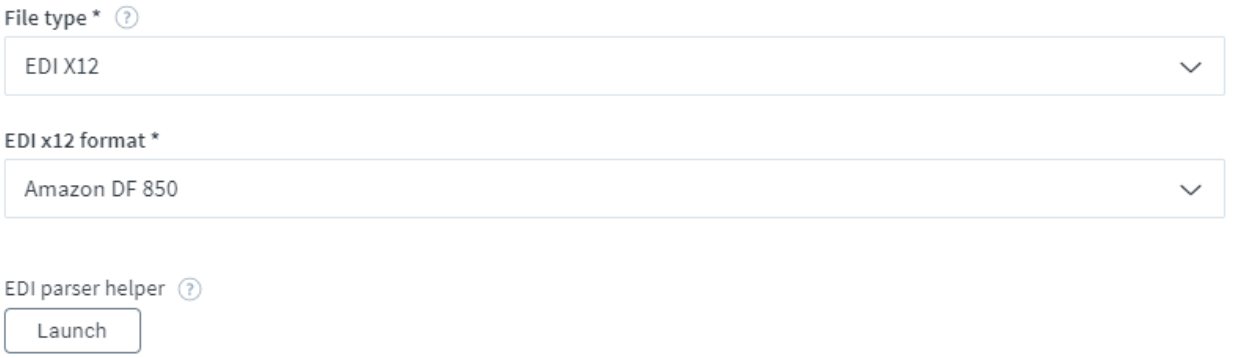
8. At the EDI Parser Helper, click on "Launch." This option helps in defining the rules used by our platform to understand how to parse custom files. The File Parser Helper allows you to modify our templated rules to meet more specific file parsing requirements. Within the editor, you can use the Rules panel to describe how a custom file should be parsed into JSON records. Then, you can use the Sample File and Output panels to test your rules.

9. If you need to customize your file, type the file definitions; if not, leave it and save, then close the tab.10. Specify the directory path from where you would like to get the file from your FTP and provide the name of the file you need to retrieve in the file filtering conditions.

11. Select a field if you want to group records of the incoming document, then save and close the export.
1. Likewise, create a NetSuite import with the required fields and select the record type needed to create in NetSuite. For example, I'm selecting "Sales Order" as the record type. Save and close the import. If needed, configure your import further based on your requirements.

2. Configure mapping based on your requirement as shown.

3. Test run your process to check if its is working properly.Need more info on how to streamline your order management processes? Talk to our team of integration experts today.


